




Step 1: Free Inspection and Honest Assessment
Every Weatherguard roofing project begins with a thorough, free inspection. Our estimator examines shingles, flashing, valleys, penetrations, decking (from the attic where accessible), ventilation, and gutters, and documents everything with photos. If your roof can be repaired instead of replaced, we tell you so — an honest assessment costs us a sale occasionally and earns us referrals constantly.
If storm damage is present, we document it to insurance-industry standards: date-stamped photos, test squares, and slope-by-slope notes your adjuster can verify. Weatherguard has guided thousands of homeowners through hail and wind claims across Minnesota, Illinois, Colorado, and western Wisconsin.
Step 2: Material Selection and Detailed Proposal
Next, we help you choose the right roofing system for your home and budget — not just shingles, but the complete assembly: ice and water shield, synthetic underlayment, starter strips, hip and ridge caps, flashing, and ventilation. As an Owens Corning Platinum Preferred Contractor, we can offer warranty tiers most contractors cannot, and we also install GAF and CertainTeed systems.
Your written proposal itemizes materials, labor, tear-off, disposal, and every accessory — no allowances that balloon later, no vague "per code" lines. You'll know the exact shingle line, color, and warranty registration before you sign.
Step 3: Scheduling, Permits, and Preparation
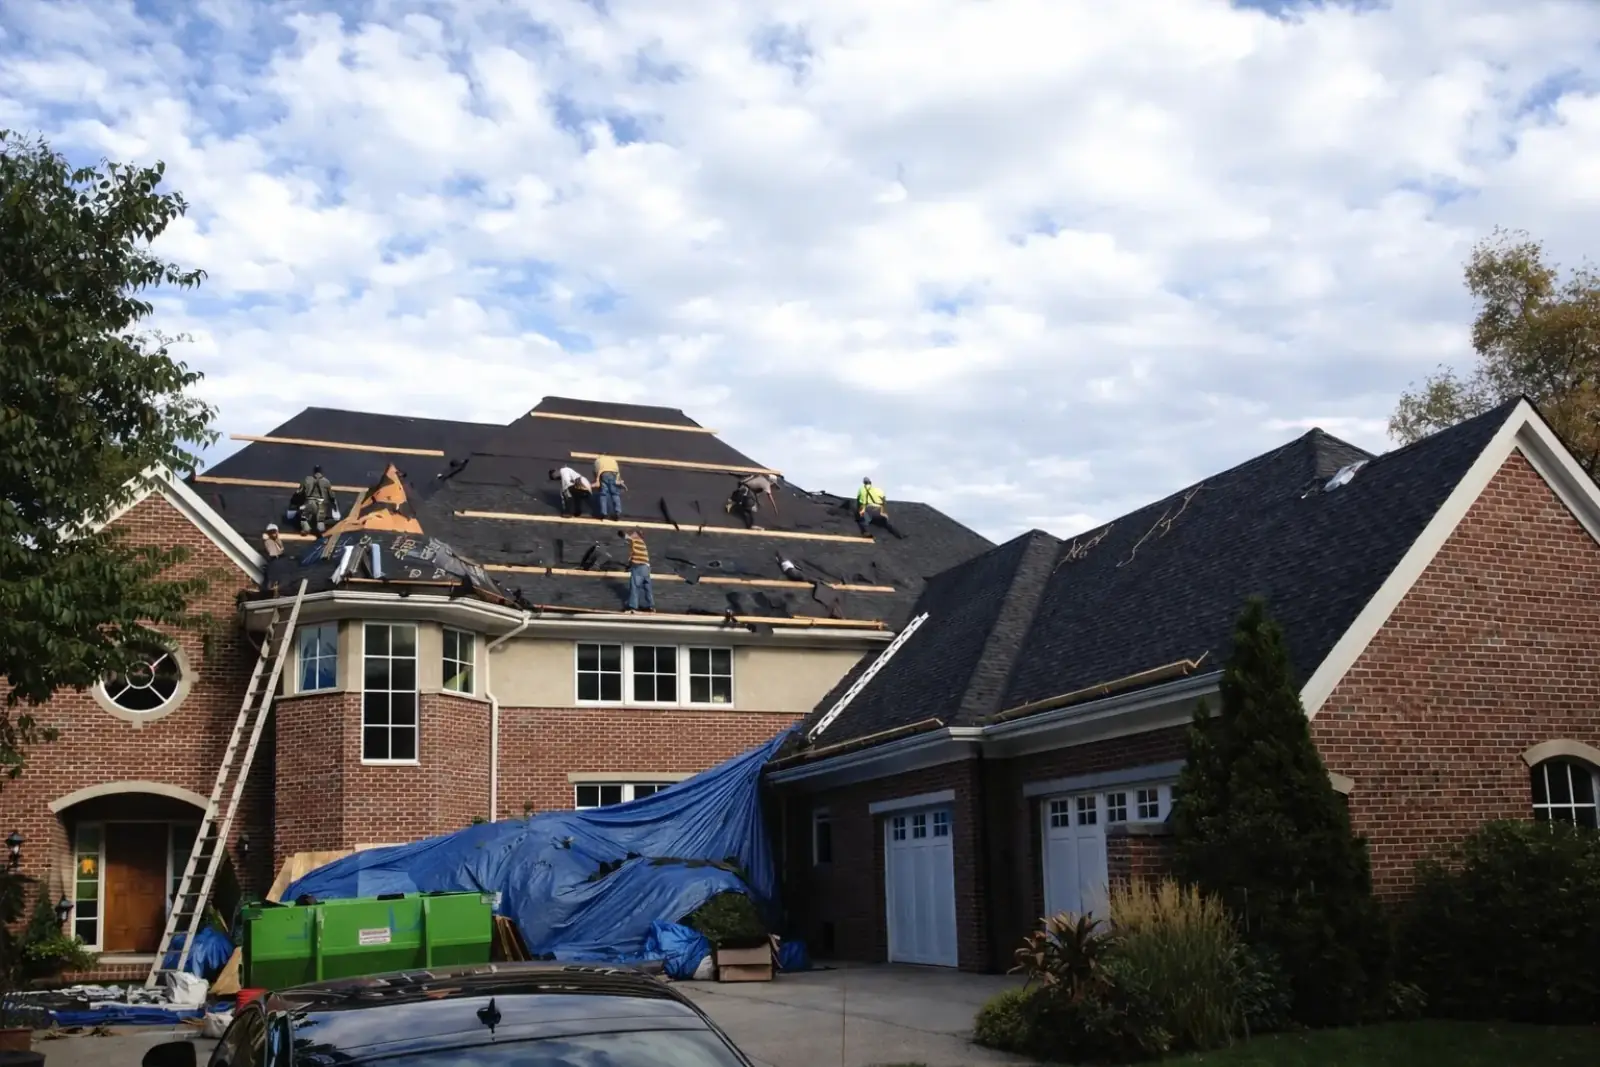
Weatherguard pulls all required permits and schedules delivery of materials, typically the day before installation. We walk the property with you beforehand, noting landscaping, outlets we'll use, and anything fragile. On installation day, crews protect siding, windows, decks, and plantings with tarps and plywood shields before the first shingle comes off.
Step 4: Tear-Off and Deck Inspection
We remove all existing shingles and underlayment down to the wood deck — Weatherguard does not roof over old layers, which hides rot and voids most manufacturer warranties. With the deck exposed, we inspect every sheet for soft spots, delamination, and rot, and replace damaged decking at the per-sheet price quoted in your proposal. You'll be shown photos of anything we replace.
Step 5: System Installation
Installation follows the manufacturer's written specifications, in order: ice and water shield at eaves, valleys, and penetrations (code depth varies by state — deeper in Minnesota and Wisconsin than Illinois); synthetic underlayment; drip edge; starter course; field shingles nailed in the manufacturer-specified zone; step and counter flashing at walls and chimneys; pipe boots; and hip and ridge caps. We finish by installing or upgrading ridge ventilation so your attic breathes correctly — the single most overlooked factor in premature shingle failure and winter ice dams.
Step 6: Cleanup and Final Inspection
Crews run magnetic sweeps across the lawn, driveway, and beds — usually multiple passes — and haul away all debris the same day. A project manager then walks the completed roof, checking nailing patterns, flashing details, and penetrations against our quality checklist, and reviews the results with you on the ground with photos.
Step 7: Warranty Registration and Documentation
Before we close your file, we register your manufacturer warranty (including enhanced tiers like the Owens Corning Platinum Protection Limited Warranty where applicable) and deliver your documentation package: permit records, material invoices, warranty certificates, and our own workmanship warranty in writing. If a storm ever hits your new roof, that file makes your insurance claim dramatically easier.
How Long Does It All Take?
Most residential roof replacements are completed in one to three days on site. From signed contract to installation day typically runs two to four weeks depending on season and material lead times — faster for storm emergencies, where we can install temporary protection immediately.