





Step 1: Drainage Assessment
Good gutter work starts on the ground, not the ladder. We assess where water goes today: roof area and pitch feeding each run, existing downspout locations, grading around the foundation, and evidence of problems — tiger-striped gutter faces, eroded mulch, foundation seepage, or winter ice at the eaves. The system we design moves water from shingle edge to a discharge point well away from the house.
Step 2: System Design and Sizing
Gutters are sized to the roof that feeds them. Steep and large roof planes in snow country typically justify 6-inch K-style gutters — roughly 40% more capacity than standard 5-inch — with 3x4-inch oversized downspouts spaced every 30-40 feet of run. Your proposal specifies gutter size, gauge (.032 heavy-duty aluminum), color from 20+ baked-on finishes, downspout locations, and any guard system, itemized line by line.
Step 3: Tear-Off and Fascia Inspection
We remove existing gutters and inspect the fascia boards they were hanging from. Rot behind old gutters is common — leaking joints and sagging runs hold water against the wood for years. Damaged fascia is replaced before new gutters go up, because hangers screwed into soft wood won't hold through a northern winter.
Step 4: On-Site Seamless Forming
Our roll-forming machine produces each gutter run on-site from continuous aluminum coil, cut to the exact length of your roofline. Joints exist only at corners, where we join miters with high-performance sealant and rivets. Fewer seams means dramatically fewer future leak points than sectional gutters, which have joints every ten feet.
Step 5: Hanging, Pitch, and Fastening
Runs are hung with hidden hangers screwed — never nailed — into solid fascia at tight spacing, pitched precisely toward downspouts so water moves without pooling. Correct pitch is invisible from the street but decides whether your gutters drain fully or breed mosquitoes and ice. Downspouts are strapped, and extensions or buried drains carry discharge at least four to six feet from the foundation.
Step 6: Guards and Winter Details
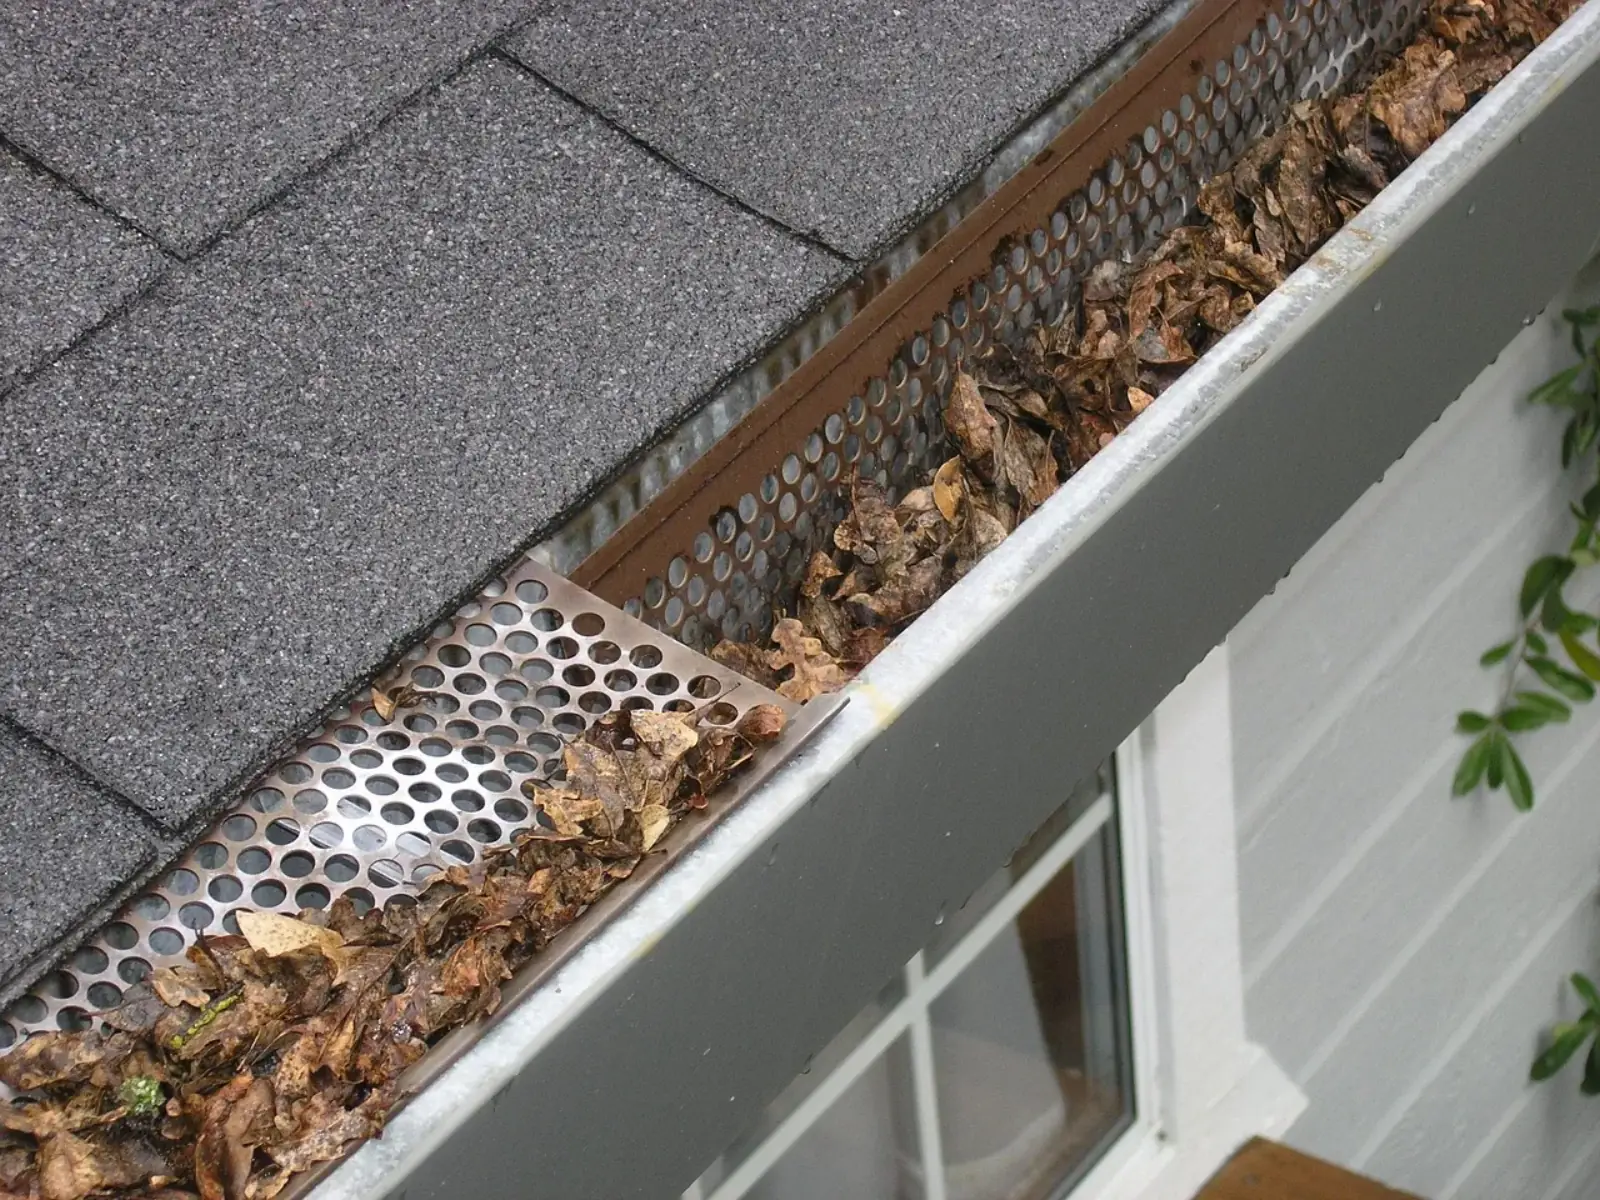
Where trees warrant it, we install micro-mesh or surface-tension gutter guards that exclude leaves and seed pods while passing heavy rainfall. On homes with chronic ice damming, we integrate heat cable routing and flag attic insulation and ventilation issues — because gutters, roof edge, and attic performance work as one system.
Common Gutter Problems This Process Prevents
Nearly every gutter failure we're called to fix traces back to a skipped step in this process: sectional seams that leak because sealant aged out, spike-and-ferrule nails that worked loose under ice load, runs pitched flat that breed mosquitoes in summer and ice in winter, downspouts dumping at the foundation and flooding basements, and guards that clogged because the wrong product was matched to the tree cover. Getting the design, forming, and fastening right the first time is cheaper than fixing water damage later — which is exactly why we don't compress or skip steps to win on price.
Warranties and Final Walkthrough
The baked-on finish on our aluminum coil carries a manufacturer warranty of 20+ years, and Weatherguard backs every installation with a written workmanship warranty covering pitch, fastening, sealing, and drainage performance. We finish with a walkthrough — often with a hose test — so you see the system working before we leave. Most homes are completed in a single day, and your documentation package includes the finish warranty and our workmanship warranty in writing.