Weatherguard's Window Replacement Process: From Consultation to Completion
At Weatherguard Construction, we've refined our window replacement process over years of experience serving homeowners across Minnesota, Illinois, and Colorado. Our systematic approach ensures every project is completed on time, on budget, and to the highest quality standards. Here's exactly what to expect when you choose Weatherguard for your window replacement.
Step 1: Free In-Home Consultation
Your window project begins with a comprehensive in-home consultation at no cost and no obligation. A Weatherguard window specialist visits your home to:
- Assess the condition of your current windows
- Take precise measurements of every opening
- Discuss your priorities: energy efficiency, aesthetics, noise reduction, security
- Review available products from Pella, Marvin, Andersen, and Kolbe
- Identify any structural concerns or code requirements
- Provide a transparent, itemized estimate—typically within 48 hours
Step 2: Product Selection & Design
Once you've decided to move forward, our design team helps finalize every detail: frame material, color, hardware finish, glass package, grid pattern, and interior trim style. We bring physical samples to your home so you can see and feel the options in your own space. Color-matched exterior trim ensures seamless integration with your home's siding and architectural style.
Step 3: Custom Manufacturing
Every Weatherguard window is custom manufactured to your home's exact specifications. Lead times vary by manufacturer and product line—typically 4-8 weeks for standard products and 8-12 weeks for custom configurations. We keep you informed throughout the manufacturing process with regular status updates.
Step 4: Pre-Installation Preparation
Before installation day, our project coordinator contacts you to confirm the schedule, review access requirements, and answer any last-minute questions. We ask that you clear window sills and move furniture 3-4 feet from window areas. Our installation teams bring protective drop cloths and floor protection for every project.
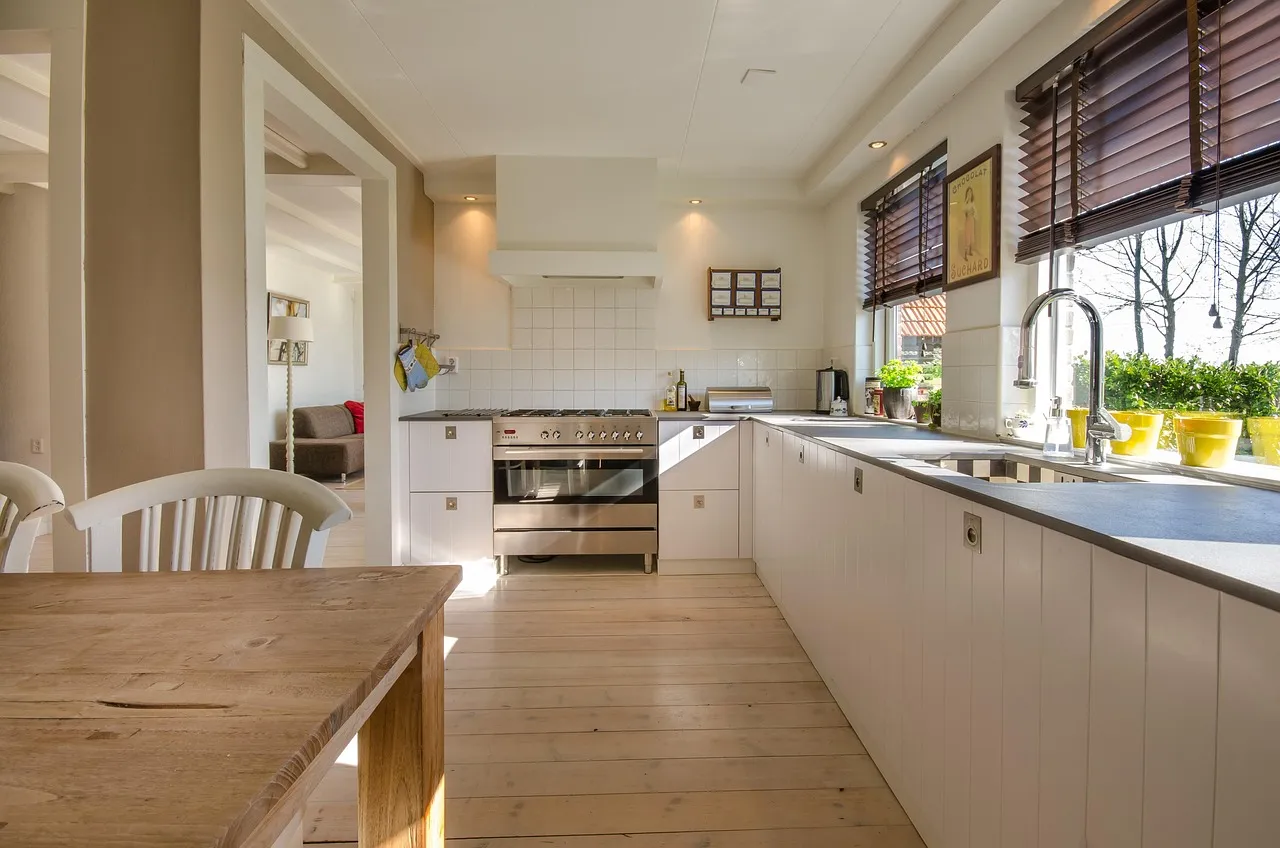
Step 5: Professional Installation
Installation day is where Weatherguard's expertise truly shines. Our certified crews arrive on time with all materials, tools, and protective equipment. The full-frame replacement process includes:
- Interior protection setup with drop cloths and plastic sheeting
- Careful removal of existing windows and trim
- Inspection of the rough opening for damage, rot, or moisture
- Application of weather-resistant barrier and proper head/sill flashing
- Installation and precise leveling of the new window unit
- Low-expansion foam insulation at the perimeter
- Interior and exterior trim installation with premium caulking
- Hardware adjustment and operational testing
Step 6: Quality Inspection & Walkthrough
After installation, a Weatherguard quality inspector performs a detailed review of every window. We test each window for smooth operation, proper sealing, and cosmetic perfection. Then we walk through the project with you, demonstrating how to operate, clean, and maintain your new windows. We don't consider the project complete until you're 100% satisfied.
Step 7: Cleanup & Follow-Up
Our crews remove all debris, old windows, packaging, and construction materials from your property. The work area is left cleaner than we found it. Approximately 2 weeks after installation, we follow up to ensure everything is performing as expected and answer any questions that may have come up.
Local Expertise in Minnesota
Weatherguard Construction has proudly served homeowners in Minnesota for over two decades, earning a reputation for excellence in exterior home services. Our team understands the unique needs of local homes, from the charming historic properties in Minneapolis and St. Paul to the contemporary builds in suburban communities. We approach every window replacement project with deep knowledge of local architectural styles and regional building codes to ensure seamless results.
Our local expertise means we’re familiar with the challenges Minnesota homeowners face, including the impact of seasonal temperature changes, harsh winters, and humid summers. Weatherguard designs window solutions tailored to withstand the region’s demanding climate while enhancing comfort and energy efficiency year-round.
Service-Specific Benefits for Homeowners
Replacing your windows with Weatherguard comes with several key benefits:
- Improved Energy Efficiency: Modern windows are engineered to reduce heat transfer, keeping your home warmer in winter and cooler in summer. Our energy-efficient options include advanced glass packages with Low-E coatings and argon gas fills, helping you save on heating and cooling costs.
- Enhanced Curb Appeal: Whether you’re upgrading to sleek contemporary windows or preserving a classic look, Weatherguard offers designs to complement any home style. Our partnerships with leading brands like Pella, Marvin, Andersen, and Kolbe mean you’ll have access to premium finishes and customizable features.
- Noise Reduction: Quality windows can help block outside noise, creating a quieter, more peaceful indoor environment. Ideal for homes located near busy streets, schools, or other high-traffic areas.
- Increased Home Value: Professionally installed, high-performance windows are an investment that can increase your home’s resale value while making it more appealing to future buyers.
- Improved Functionality: Struggling with windows that stick, won’t open, or don’t lock properly? Weatherguard installs windows that operate smoothly and securely, providing both functionality and peace of mind.
Why Choose Weatherguard for Windows?
When it comes to window replacement, Weatherguard Construction stands out as a trusted name in Minnesota and beyond. Here’s why homeowners turn to Weatherguard:
- Certified Expertise: Weatherguard’s installation teams are highly trained and experienced in full-frame and retrofit window replacements.
- Premium Brands: By partnering with industry leaders like Pella, Marvin, Andersen, and Kolbe, Weatherguard offers unmatched product quality and variety.
- Transparent Pricing: No hidden fees or surprises—just honest, itemized estimates you can trust.
- Commitment to Quality: As part of every project, Weatherguard performs a meticulous quality inspection to ensure flawless results.
- Customer Satisfaction: With an A+ rating from the Better Business Bureau, Weatherguard is committed to delivering exceptional service and earning your satisfaction.
Choosing Weatherguard means working with a company that values professionalism, integrity, and attention to detail. From consultation to cleanup, every step of the process is designed to make your window replacement experience smooth and stress-free.
Local Climate Considerations
Minnesota’s climate can be unforgiving, but the right windows can make all the difference in keeping your home comfortable and protected. Weatherguard understands the importance of selecting windows that perform well in extreme weather conditions. Our team works with products specifically designed to handle the challenges of Minnesota’s diverse climate.
- Winter Weather Resistance: With frigid temperatures and heavy snowfall, Minnesota winters demand windows that prevent drafts and heat loss. Weatherguard offers insulated glass and robust sealing systems to keep your home cozy and energy-efficient.
- Summer Heat & Humidity: During Minnesota’s humid summers, windows with advanced Low-E coatings and UV protection help reduce solar heat gain while preserving indoor comfort.
- Durability in Storms: Severe weather events such as thunderstorms and hail are common in Minnesota. Weatherguard’s windows are built with durable materials and impact-resistant glass options to stand up to the elements.
- Year-Round Energy Savings: Whether it’s heating in the winter or cooling in the summer, energy-efficient windows make it easier to control your home’s temperature while reducing utility costs.
Weatherguard’s team takes the time to evaluate your home’s specific needs, recommend climate-appropriate solutions, and ensure your windows perform optimally in every season.