





(651) 439-4320 Book Now
Roofing Siding Windows Decks Gutters Painting Service Areas About Contact
Call Now Book Now
Professional Siding Installers

The Siding Installation Process, Explained

From inspection and material selection to moisture barrier, installation, and warranty — every step of a Weatherguard siding project.

4.7·40+ reviews
Serving Minnesota since 2001 • Licensed & Insured
4.7 (40+ reviews)·Owens Corning Platinum Preferred·BBB A+ Rated·Licensed & Insured in Minnesota·Serving Minnesota since 2001
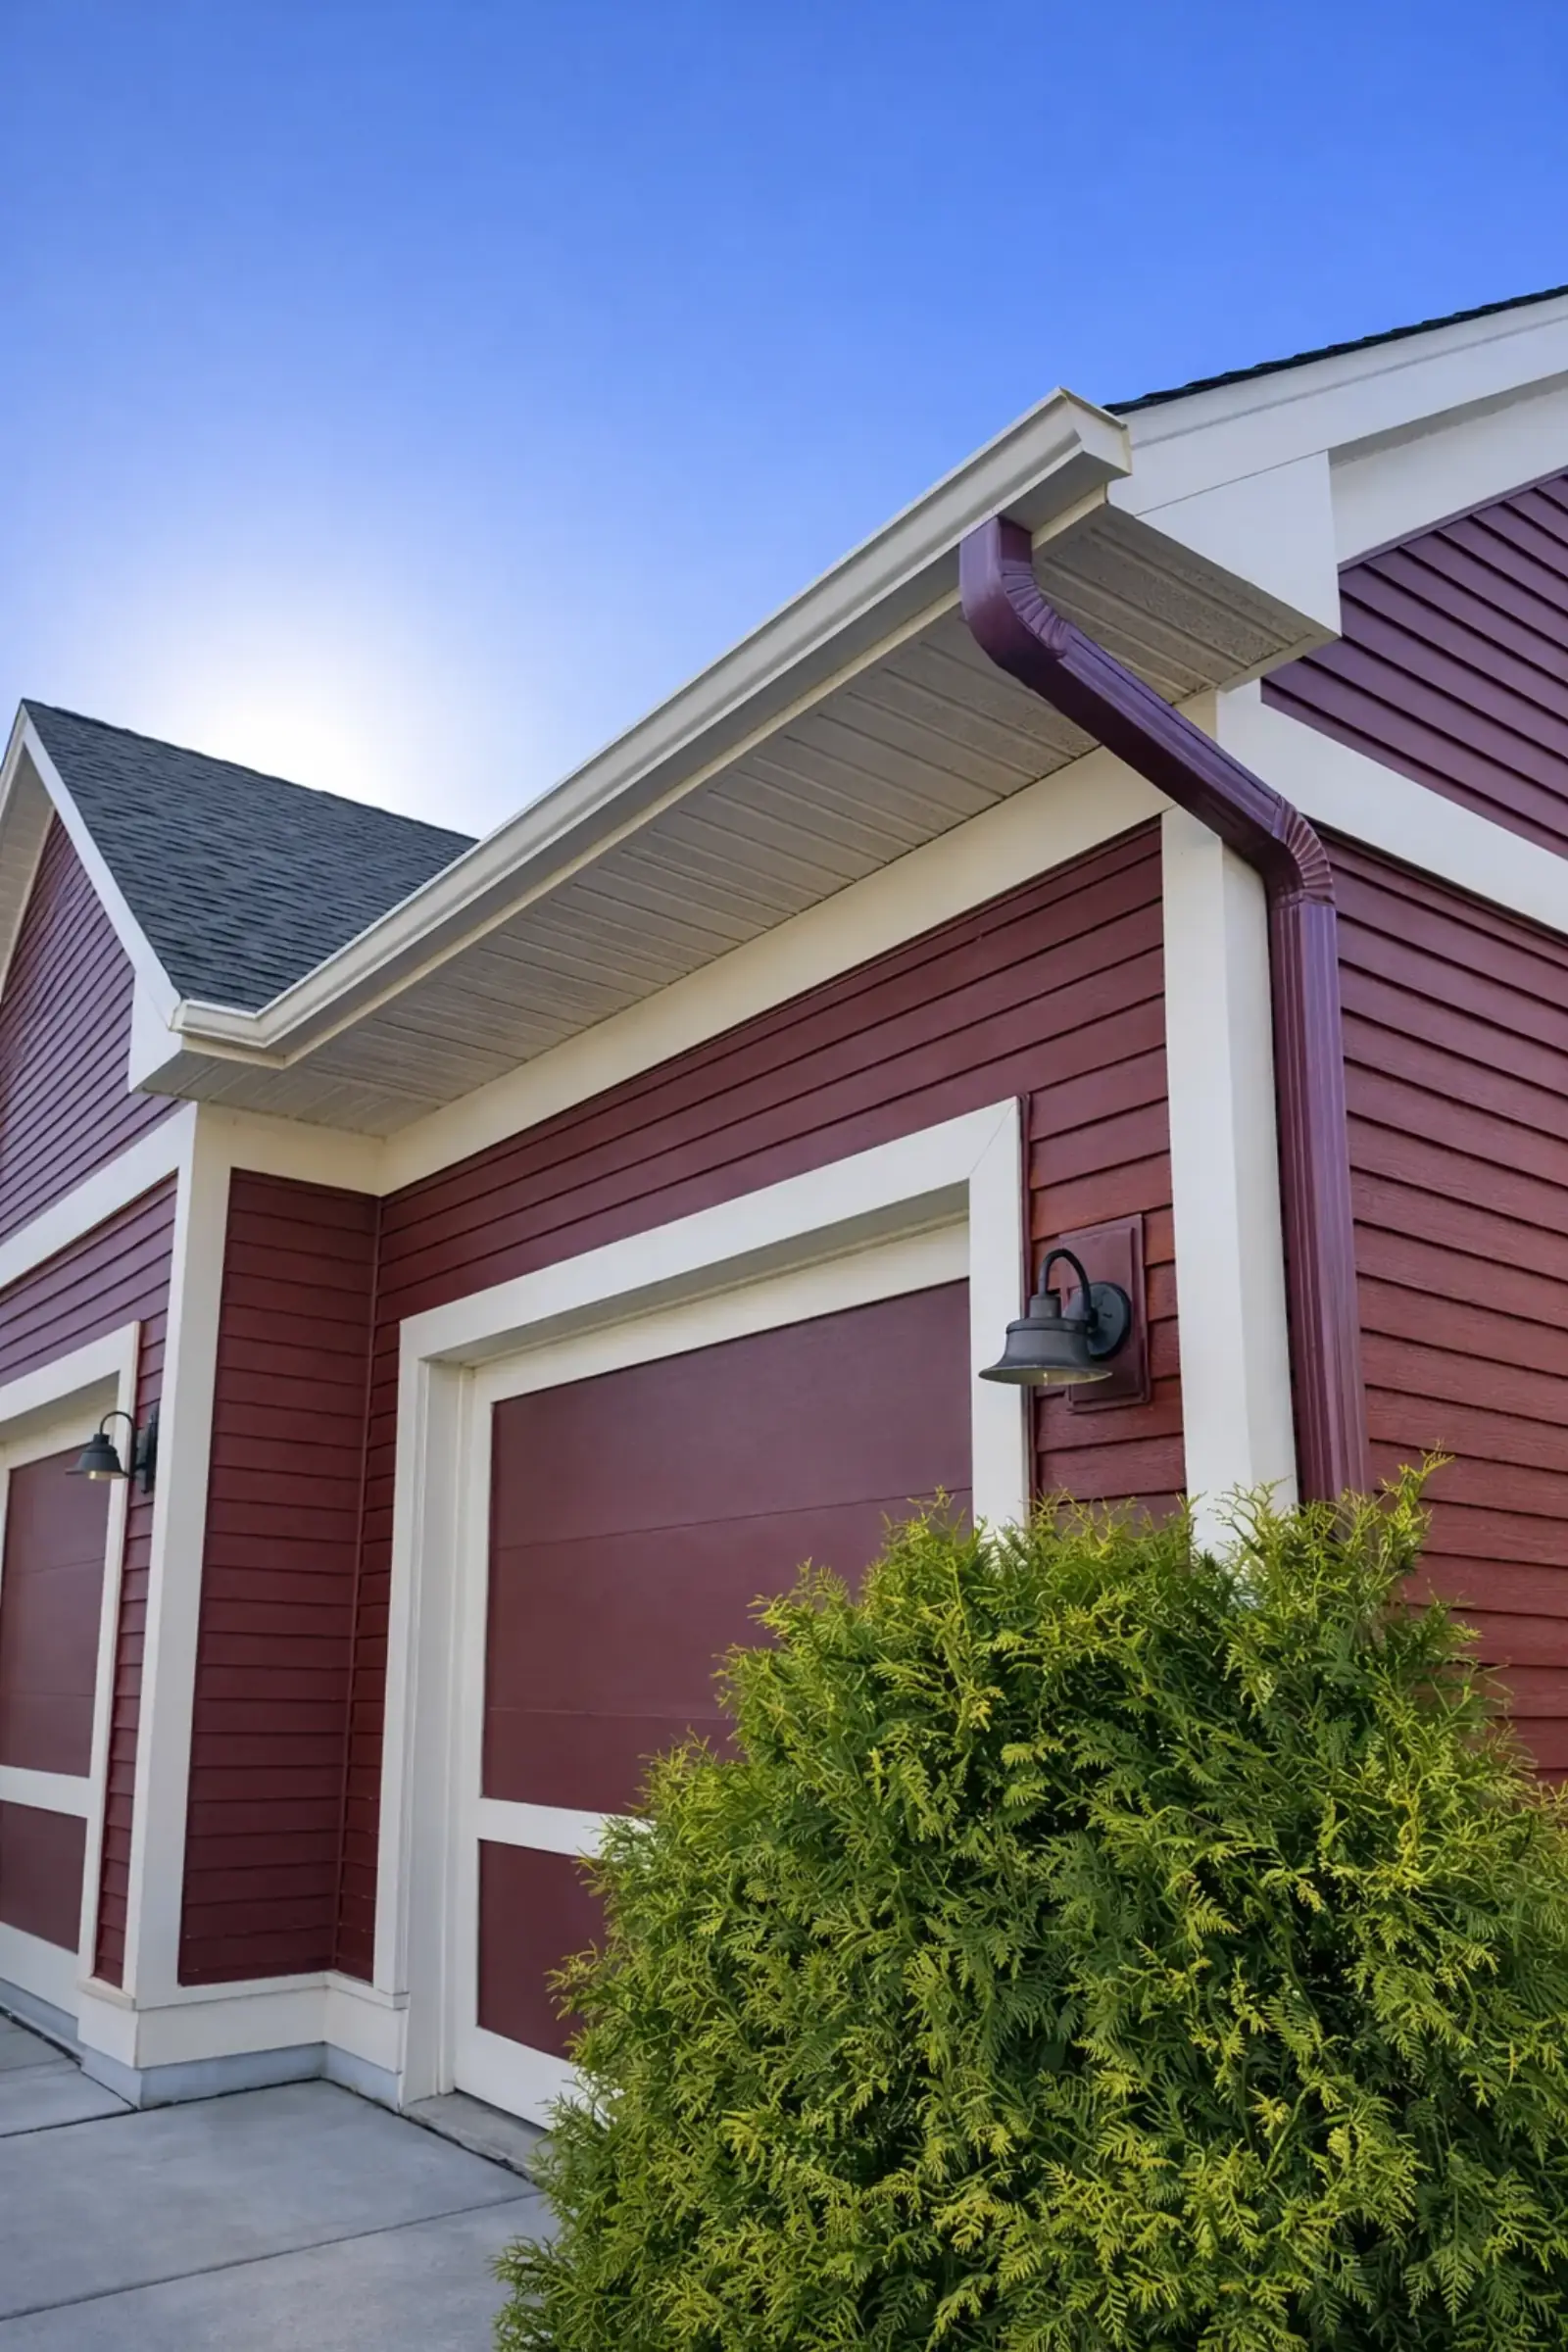
Completed siding and gutter installation with red lap siding and white trim
Siding project by Weatherguard Construction in Minnesota

At Weatherguard, siding installation starts with a thorough inspection and design consult, followed by material selection (LP SmartSide, James Hardie, or premium vinyl). We tear off to sheathing, repair damage, install a continuous weather barrier and integrated flashing, then fit siding and trim to manufacturer specs with proper clearances. Finally, we clean up, walk through, and deliver documentation and warranties.

Step 1: Inspection and Design Consultation

A siding project starts with understanding what's happening on your walls today. Our estimator inspects existing cladding for cracking, warping, hail bruising, and moisture clues like peeling interior paint, then measures every elevation. We also talk design: lap width, board-and-batten or shake accents, trim details, and color palettes — with real product samples, not just brochures.

Step 2: Material Selection

Weatherguard installs LP SmartSide engineered wood, James Hardie fiber cement, and premium vinyl systems. For most homes in our northern service area, we recommend LP SmartSide: it resists hail impact better than vinyl or fiber cement, installs reliably in cold weather, and carries a 5/50-year limited warranty. Your proposal itemizes siding, trim, house wrap, flashing, soffit, fascia, and labor line by line.

Step 3: Tear-Off and Substrate Inspection

Crews remove existing siding down to the sheathing — never siding over failing material — and inspect every wall for rot, delamination, and pest damage. Damaged OSB or plank sheathing is replaced at the per-sheet price quoted upfront, and we photograph everything we repair. This is the step where cut-rate bids cut corners, and where hidden moisture problems either get fixed or get buried.

Step 4: Weather Barrier and Flashing

Before any siding goes up, we install a continuous weather-resistive barrier, tape seams, and integrate flashing at windows, doors, penetrations, and horizontal transitions. This drainage plane — not the siding itself — is your home's real waterproofing. We follow manufacturer and code clearances precisely because this layer determines whether walls stay dry for the next forty years.

Step 5: Siding, Trim, and Detail Installation

Siding is installed to the manufacturer's written specification: correct fastener type and spacing, expansion gaps, and clearances from roofs, decks, and grade. Corner boards, window trim, frieze, soffit, and fascia are fitted with sealed joints and clean reveals. On LP SmartSide projects our installers follow LP's application instructions exactly — required for the substrate warranty to hold.

Step 6: Cleanup and Final Walkthrough

We haul away all tear-off debris, run magnetic sweeps for fasteners, and walk every elevation with you, checking joints, caulk lines, clearances, and touch-up paint. Your documentation package includes material records and warranty registrations.

What Sets a Quality Siding Installation Apart

From the street, most new siding looks similar for the first year or two. The differences show up later: kickout flashing that keeps roof-wall intersections dry, correct clearances above shingles and grade that prevent wicking, sealed cut edges on every trimmed board, and fastener depth that lets the siding move with the seasons instead of buckling. These details are invisible on day one and decisive by year ten — and they're the reason we photograph our flashing and barrier work before it's covered, so you have a record of what's behind your walls.

Warranties on Your Siding Project

Product warranties vary by material — LP SmartSide carries a 5/50-year limited warranty (100% labor and material replacement in the first five years, prorated substrate coverage to fifty), James Hardie a 30-year non-prorated substrate warranty, and quality vinyl lifetime-limited coverage. On top of the manufacturer's coverage, Weatherguard provides its own written workmanship warranty on the installation — the flashing, fastening, and detailing that manufacturer warranties don't cover.

Timeline

Most full siding replacements take five to ten working days on site depending on home size and the amount of trim, soffit, and fascia work included. Cold weather rarely stops an LP SmartSide project — engineered wood installs well year-round in our climate.

The Weatherguard Difference

Why Weatherguard in Minnesota

Local Office in Stillwater, MN

Our Stillwater team serves Minnesota — fast scheduling, quick response after storms, and crews who know local codes.

Licensed in Minnesota

Licensed in Minnesota (LIC. #BC282484). Bonded and insured. Owens Corning Platinum Preferred — top 1% of contractors.

Family-Owned Since 2001

25 years of honest, no-pressure estimates.

Get Your Free Siding Estimate

Ready to start your project? Contact Weatherguard Construction for a free, no-obligation estimate with transparent pricing.

FAQ

Frequently Asked Questions

1 How long does siding replacement take?
Most full siding replacements take 5-10 working days depending on home size, material, and how much trim, soffit, and fascia work is included. Weather delays are rare with engineered wood, which installs well in cold temperatures.
2 Do you remove the old siding first?
Always. We strip to the sheathing, inspect for rot and moisture damage, and repair before installing the weather barrier and new siding. Siding over failing material hides problems and voids most manufacturer warranties.
3 What is a weather-resistive barrier and why does it matter?
It's the continuous house wrap and flashing layer installed behind the siding — your home's actual waterproofing. Siding sheds most water; the barrier handles the rest. Its correct installation determines whether walls stay dry for decades.
4 What if you find rot under my old siding?
Damaged sheathing is replaced at the per-sheet price itemized in your proposal, with photos of everything we repair. You'll never face a surprise negotiation mid-project.
5 What warranty comes with LP SmartSide siding?
LP SmartSide carries a 5/50-year limited warranty: 100% labor and material replacement coverage in the first five years, then prorated substrate coverage through year fifty. Weatherguard adds its own written workmanship warranty on the installation.
6 Can siding be installed in winter?
Yes. LP SmartSide engineered wood and steel install reliably in cold weather. Vinyl and fiber cement need extra care in freezing temperatures, and our crews follow each manufacturer's cold-weather specifications.
7 Will you match my new trim and soffit to the siding?
Yes. We replace or wrap corner boards, window trim, frieze, soffit, and fascia as part of the project so the whole envelope finishes cleanly and every joint is sealed — no mixing crisp new walls with tired old trim.
8 Does new siding include new house wrap?
Always. Fresh weather-resistive barrier with taped seams and integrated window and door flashing is a non-negotiable part of every Weatherguard siding installation.

Explore More Siding Resources

Related Resources

Ready to Get Started with Siding in Minnesota?

Contact Weatherguard Construction today for a free, no-obligation estimate. We typically respond within one business day.

Or call us directly at (651) 439-4320

Call Now Free Estimate